Wheel & Tire Clearance – Fender Mods: Part 2 – Flares

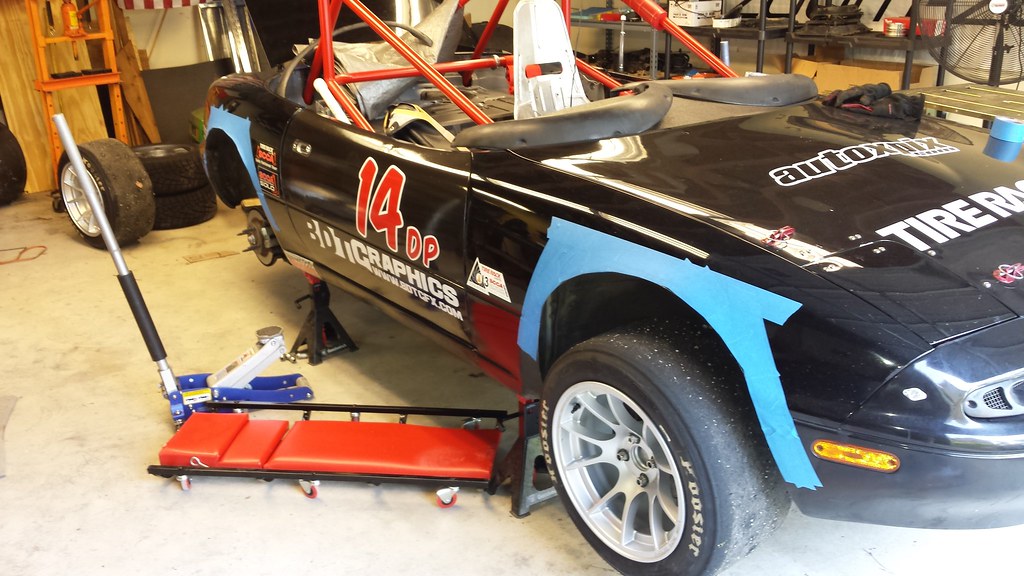
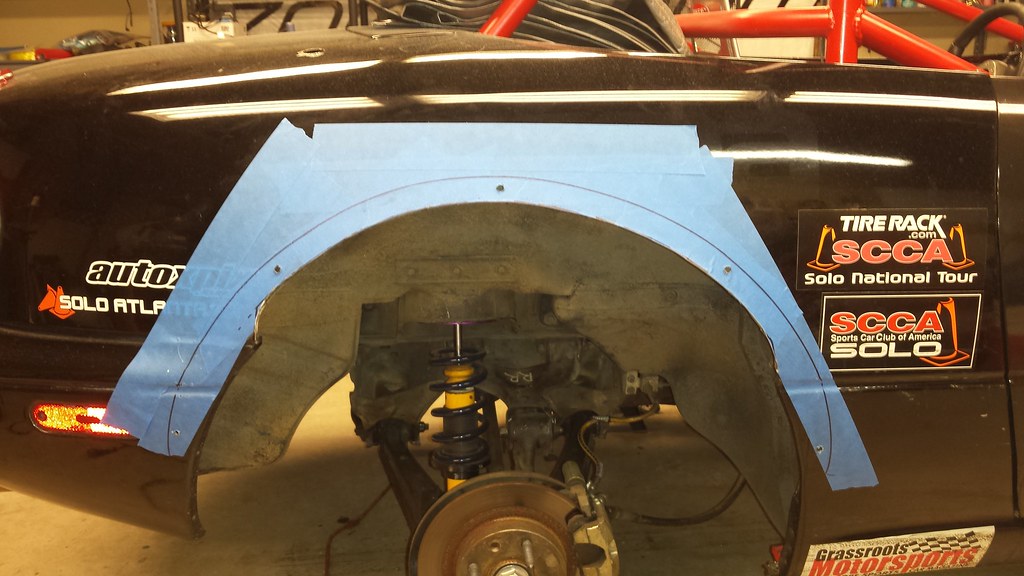
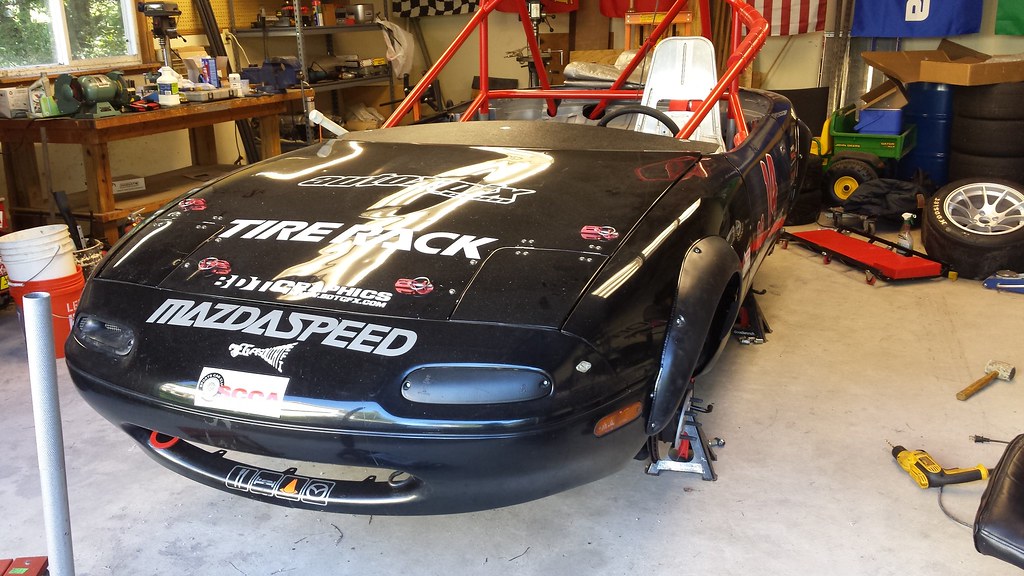
After a very, very long wait, my flares finally arrived around the same time we were working to get the engine running. Everything happened all at once, as tends to happen. Now that the car seems to run reliably and the exhaust height issue has been rectified, it was time to get the tires covered up and pick up an additional inch or 2 of fender clearance.

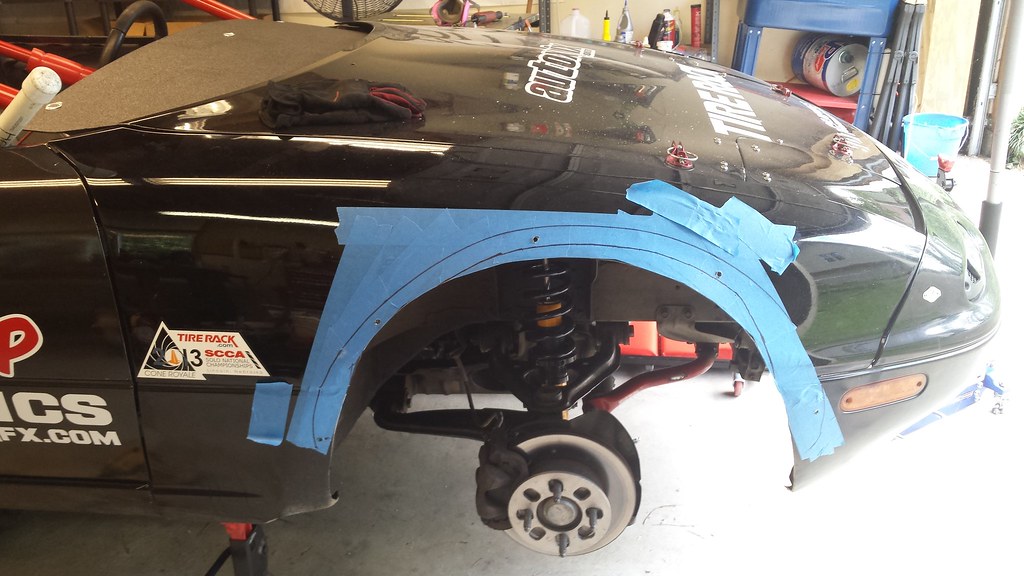
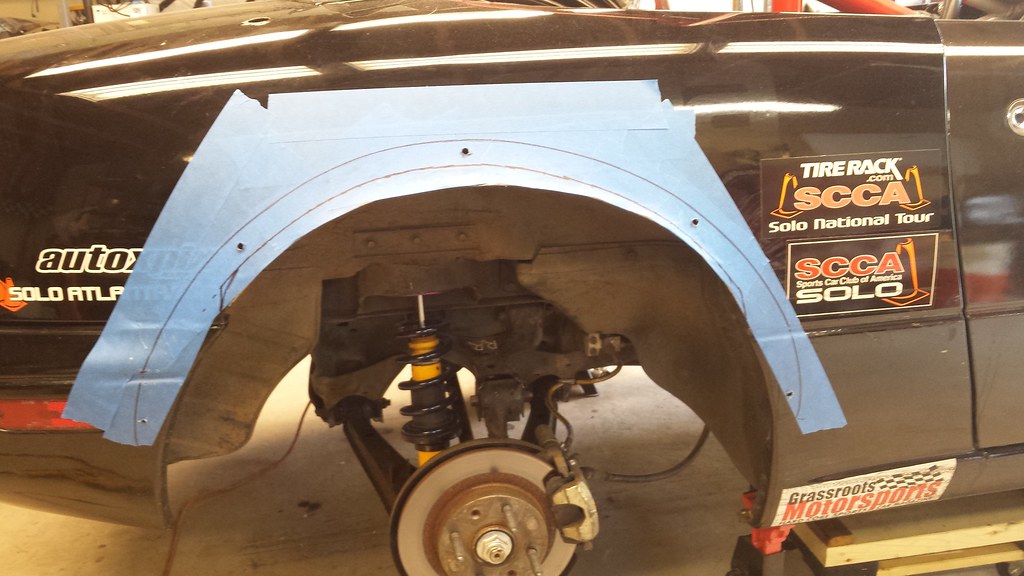
The first step is tape. Lots of tape. Less so for protecting the (awful, awful) paint, more so for having something to draw lines on.

20150904_144959


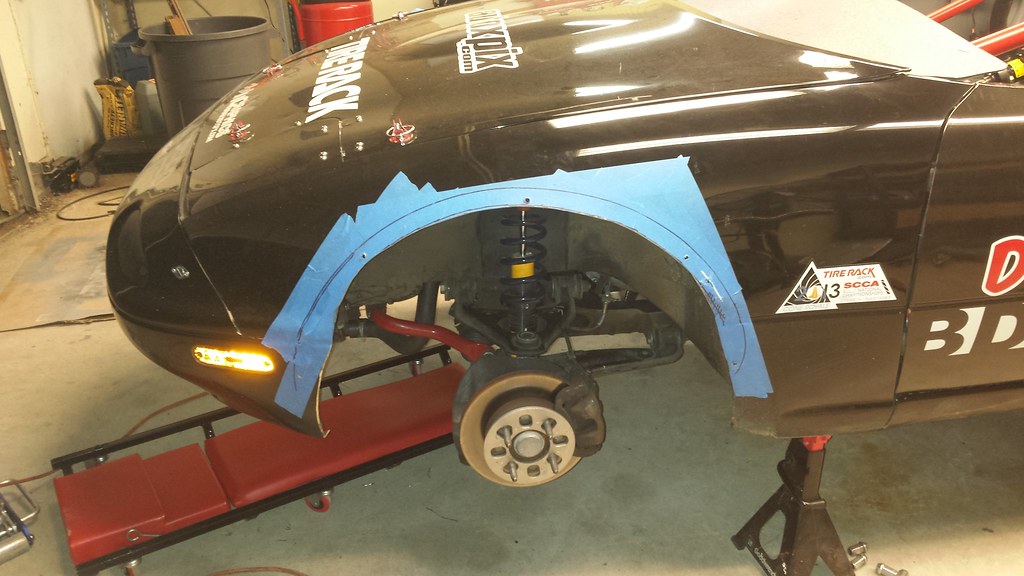
From there, with some help, we drilled 1/8″ pilot holes and used cleco clamps to mock everything up.

20150906_124958


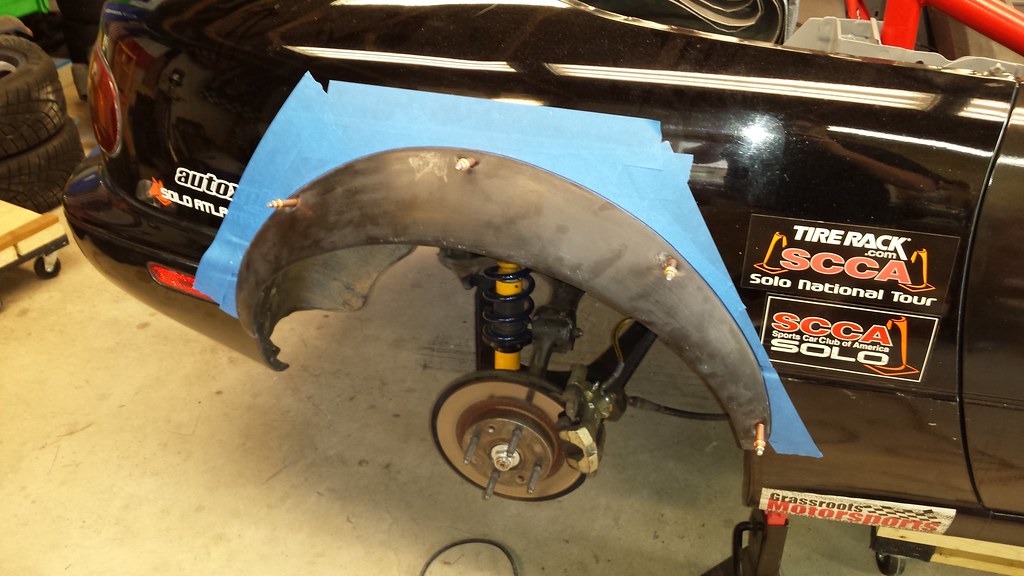
Once all 4 were mocked up, it was time to mark out the last final cuts, then drill out the full 1/4″ hole diameter.

20150908_155959

20150908_160026

20150908_203312

20150908_212140


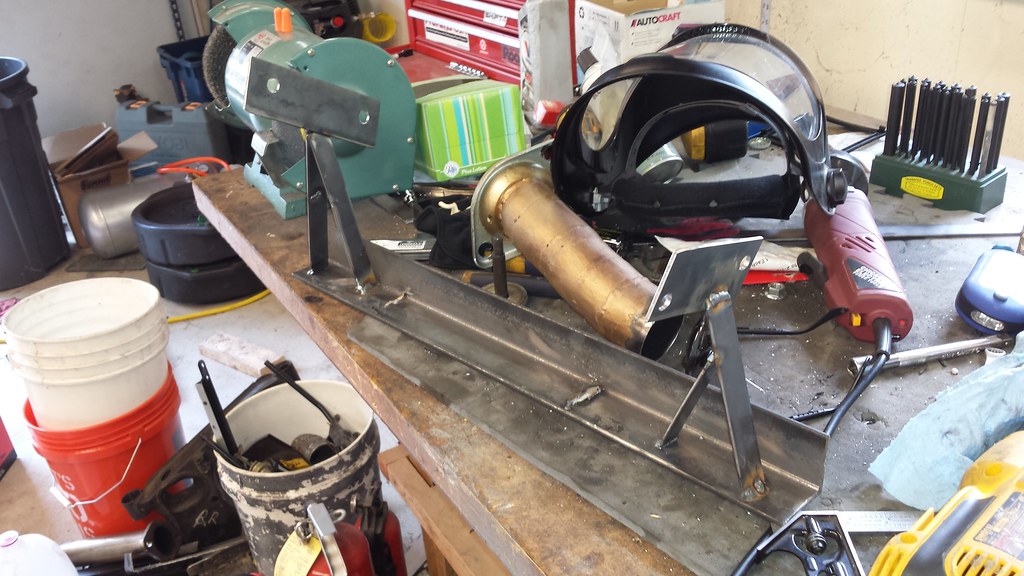
Next, I had to figure out how to secure these. The fronts are pretty straightforward as you have easy access to the front and back of the fender. The rears are a bit tougher as there’s a steel inner-fender that makes it a blind install. I considered using rivets, but I really didn’t feel like having to break out a drill ever time I needed to remove a flare for some reason, so I picked up some M6x1.0 Nutserts / RivNuts. Once that decision was made, I had to figure out how to install them. You can buy tools for them, but they’re not cheap, so the next option was making a simple one.

A spare angle-grinder spanner was just the right size to give me a handle, and not be so bulky as to get in the way. I had to drill a 2nd hole because the one at the end was too large and allowed the riv-nut flange to distort (I’m so happy I tried it a few times on a piece of scrap sheet metal instead of on the car). The added advantage there was it created a bit of a flange that helped keep the riv-nut lined up flat against the panel.

20150909_201133


Using a long M6 bolt, it’s then a matter of tightening the riv-nut against the tool, putting the assembly into a 3/8″ hole:

20150909_201203


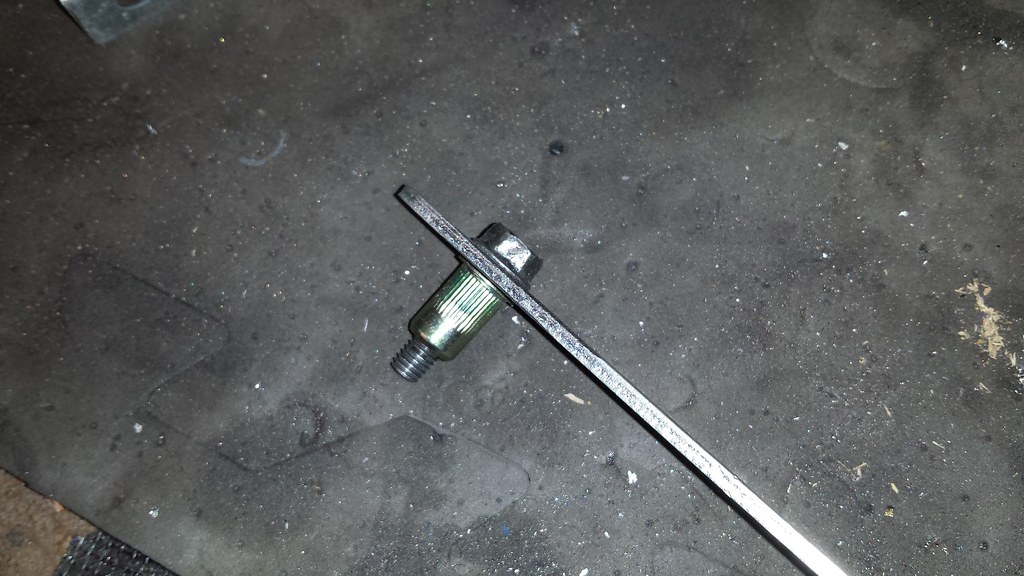
And then carefully tighten the bolt to collapse the knurled rivet portion. The end result came out looking like I knew what I was doing. A happy accident, I think…

20150909_202521


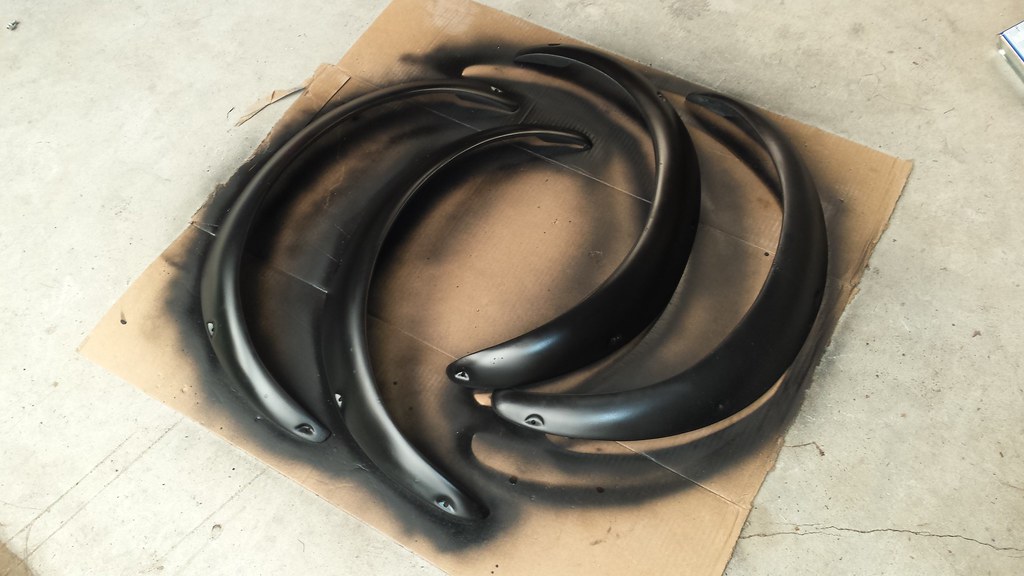
I then hit the fenders with some primer (weld-thru primer in the rear, so that I can come back and weld together the inner and outer fenders), and sprayed the fenders with a few coats of plasti dip, and then 2 coats of plasti-dip glossifier to knock the flat finish off.

20150910_193556


And then bolt everything up to the car. I’ve gotta say, she looks like she’s been hitting the gym. So many reps, bro!

20150913_115950

20150913_120051


And finally, with the wheels and tires on at ride height. BEEFCAKE! 😀

20150913_165539

Mid-Pipe: Part the Third

The only ‘problem’ over the last race weekend was getting up the hill from my shop to the driveway, the cat-back drags on the concrete driveway as it crests the hump. It’s pretty clear that if I do that a few more times, I’m going to have a problem with a holy exhaust, and I don’t want a holy exhaust, so it was time to tweak the mid-pipe again, and take a bit of a different approach.

The main problem for me is that without a way to get the car WAY up in the air, mocking everything up, and measuring angles for cuts becomes very difficult. I won’t say impossible, because better people than I have and will continue to do it, but I couldn’t seem to make it work. How to solve that then when I don’t have easy access to a lift? Build an exhaust jig! The first step was to put together a negative that bolted up to the header and the cat-back.

20150901_214118

Once that was done, bolt a couple of plates to the negative so that they would properly locate the mid-pipe and weld everything in place.

20150902_145404

The jig helped a TON, but was not perfect. It really could stand to have another base, and another set of supports to really hold the “flanges” in place. But I’d already sunken enough time and steel into it, so I cheated. I’d already determined that a flex pipe would be added, because on the prior implementation, even with the donut gasket flange & spring bolts, the exhaust had zero give. So the flex pipe I got was a slip-fit on the tubing, which allowed a lot of room for adjustment once everything was tacked up. So basically, I got both sides of the exhaust mocked up, with the flex pipe in the middle loose.

From there, I bolted everything to the car, made final tweaks and made sure everything was actually lined up properly this time, and then tacked the flex pipe in place. Here it is, and it’s pulled the cat-back up about 1-1/8″, huge improvement. Moving that flange up too much further would create interference issues further back in the exhaust, so it’s just about perfect.

20150903_152723

And the finished product:

20150903_203821

First Event!

Ok, ok, it’s not my first event in the car, obviously, but it was the first event since…almost 2 years ago. It’s been a LONG road.

In any event, the first event back was a bit of a mixed bag, because holy crap my driving was abysmal. I chalk that up to a variety of factors, the biggest of those being that I was 100% concerned about the car, and hardly thinking about the course or the driving itself. And unfortunately this affected my co-driver because in making sure nothing was on fire after my first run (there was the typical paint & oils burning off smoke & smell) I ended up forgetting to pin 3 of the 4 hood pins. No harm done, other than him blowing his 1st and only real dry run.

That said, the main takeaways are these:

  1. It fired right up upon arriving at the site.
  2. It ran flawlessly for 8 runs w/ 2 drivers in dry and wet conditions.
  3. It drove onto the trailer under its own power.
  4. In what I think was the biggest test of all, she was towed home in an absolute downpour on my open trailer, and fired and ran without issue upon our arrival. The weatherproofing works, and that is a very good thing.
  5. With the VVT motor, even running the “safe” tune that it’s on, this. thing. SCOOTS. Adding water to that made for some excitement, but boy was it fun!

Here’s a video of 1 of the runs:

Here’s a video of several of my failures (my 1st run was clean…and I didn’t turn the camera on because I was thinking of EVERYTHING ELSE).

And here are a few photos from our region’s photog, Jeffrey Ling @ Lucidworks Photography: