Another Wrecked Engine – Part Dos

The guy I bought this motor from is going to buy it back. Thankfully. Because I have no use for this engine right now. I’ve already got another one sourced locally. Then again a bunch of parts will need to be swapped around and it should be good to drop in. Hopefully.

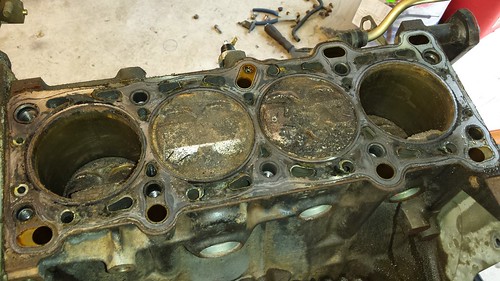
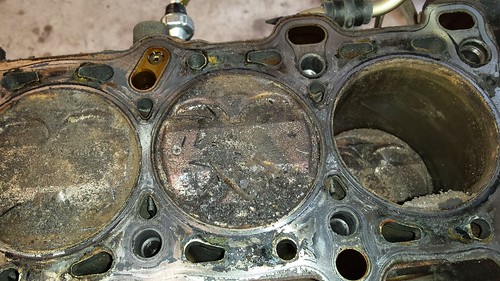
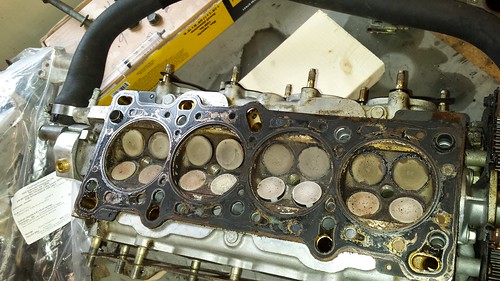
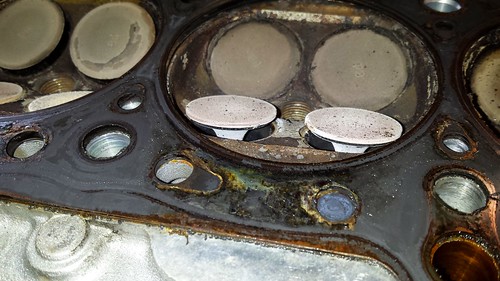
This is what I pulled off of the piston tops (ie: this was in the combustion chambers):

20150420_160302

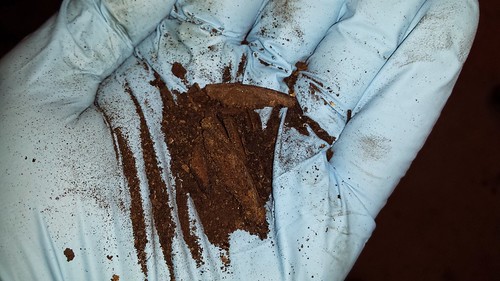
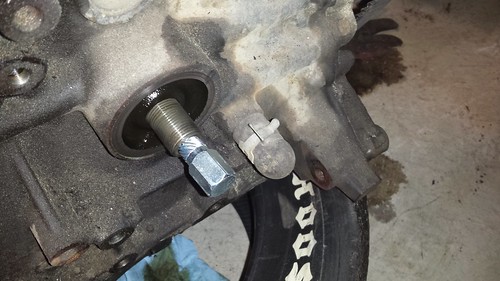
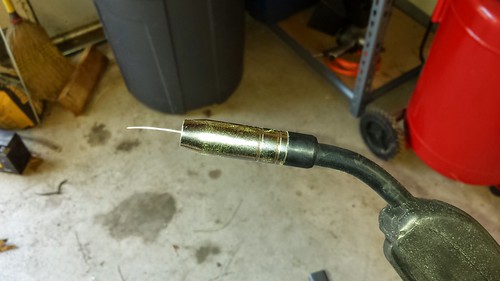
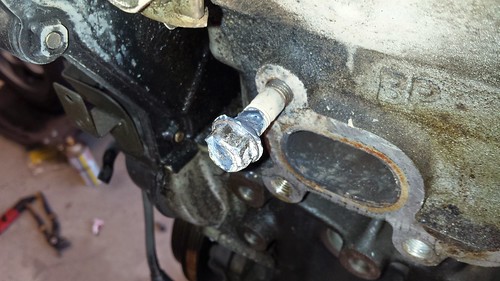
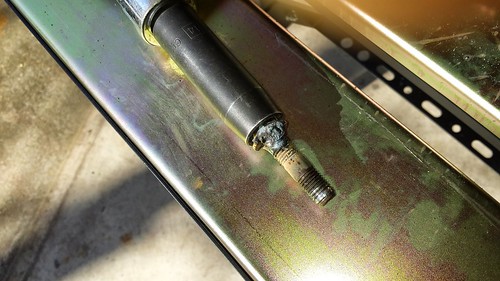
Garbage. Anyway, I figured out the solution to another problem: ie: how to pull out the oil filter pipe nipples so that I can swap the short one from the 1.6 motor in for the long one from the 1.8, since I’m deleting that silly stock oil cooler. Mostly out of necessity, since most of the cooling stuff is going bye bye for the reroute. Harbor freight sells a kit w/ 4 or 5 of them in various sizes for like $8

20150418_101620

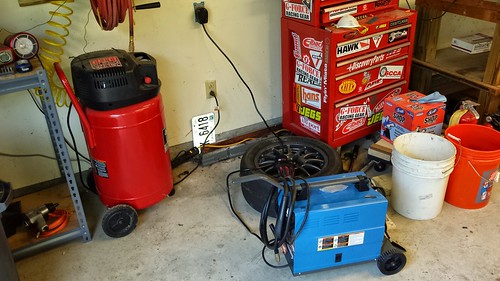
Also, a buddy sold me his parts washer + 10gal of Mineral Spirits for $25 to get it out of his garage. It’s got the pump & everything. Win!

20150418_164840

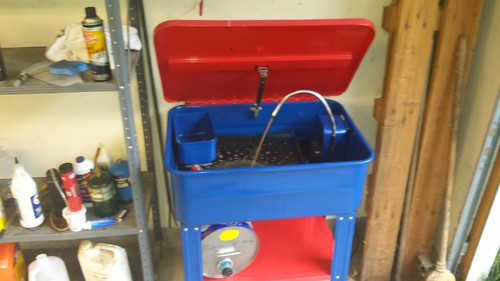
So, I’ve got that going for me. Which is nice.

Another wrecked engine

Well, it’s not beyond salvage, but it defeats the purpose of “buying a junkyard engine just to drop in” if you can’t just drop it in.

Anyway, onto the troubleshooting.

When I flipped the engine back upright, I went from being able to spin it ~360°, to being able to only spin it 180°. Weird. At this point, I was genuinely convinced I’d managed to drop a small fastener somewhere into the engine, and it worked its way through an open valve. So, before I approached the person I bought the engine from, I wanted to make damn certain that I hadn’t done something incredibly stupid. Given that, the head had to come off.

Good news: it’s not my fault! …this time.

Bad news: the motor is thrashed. It’s about as bad as I’ve seen from a motor that still supposedly ran when “parked”. It actually looks better in the pictures than it does in person. You don’t get a scale for the depth of crap built up in this thing. Apparently when I flipped it to clean the block and oil pan, it dislodged some of that crud, and that was fouling the pistons from travelling fully up the bore.

20150417_152841

20150417_152847

Given the state of the bottom end, I’m surprised that the valves were relatively intact. At least the head is probably salvageable, but I don’t think I’d really trust it on the car at this point.

20150417_154930

20150417_155013

Next steps are still TBD.

This Engine is Testing my Resolve.

After the fun times with the exhaust stud, I’ve had 2 more stuck fasteners: an EGR bolt on the manifold that broke off flush at the manifold, and a stud on the back of the head for the rear coolant neck that also had to be welded apart. I finally thought I was seeing the light at the end of the tunnel. I just had to take the front of the motor apart to pull the front coolant neck and replace it with a blockoff that’s threaded for the fan switch, attach the alternator and put a new Valve Cover gasket in and I was looking at swapping the engine in the car this weekend.

Was. Don’t EVER tell anyone that you’re “Only a few hours of work away” from being able to drop an engine in. Ever. It’s like the Universe is trying to tell me something with this engine, I swear… (╯°□°)╯︵ ┻━┻

The bottom end, whether the timing belt is on or not, and with the plugs out, will not spin 180° past TDC in either direction. It spins nice and free all the way to that spot, but there is a HARD stop at the 180° point. The plugs were in it until this evening, so nothing could have fallen in it. The plugs look fine, and the tiny bit of the pistons visible through the plug holes look in good order, but something’s whacked out. The only thing I can think of is a bent or broken valve, but why it would have decided now was the time to show itself and not before having it on the stand (or after, once it was back in the car), is completely beyond me.

Any insight from the viewing public (yes, both of you) would be incredibly appreciated. I REALLY don’t want to pull the head off this thing. If I pull any more parts off this engine, I’m basically at “buying another junkyard engine” worth of parts to put it back to right, which sort of defeats the purpose.

If you’ll excuse me, I think I’m going to go and pick up a drug habit now. It’s probably cheaper and less frustrating in the long run.

Stuck Stud Removal in 7 Easy Steps!

In the process of removing the exhaust studs to replace them with more-better (it’s a word!) ones, I came across one that was completely, inextricably stuck. No amount of jam-nuts, lock washers and wrenches was able to bust it loose.

So, how do you remove a stuck stud from a head?

1. Go to home depot to get some wiring supplies, breakers, outlets and plugs.
2. Hit up Harbor Freight for a welding table and welder, and assemble them.
3. Wire up a new 240v outlet on a dedicated breaker.

20150404_142845

4. Make sure you didn’t let the magic smoke out, and test that you’ve got power:

20150404_142828

5. Learn how to weld. This is an important step. I HAD been planning on doing the “take a few classes at a trade school” route, but sometimes, you need to figure out how to do something right now. There’s a ton of YouTube videos out there that’ll give you primers, but simply cowboying up and digging in seems to work pretty well. I ran a handful of practice beads to make sure everything was as expected and get used to how the mask & welder work.

6. MELT STEEL! Wield fire and lightning like a Norse God.
The important takeaway here is that it takes a bit more heat to get a stud & nut good and hot than it does a couple of 1/8″ plates. It took a few tries, but once I got it dialed in, I filled the nut and spot-welded it a couple places on the back.

20150404_165423

7. Leverage. Once I had the nut properly on there, an 18″ breaker bar got it out with no problem. The stud was a bit boogered, so I chased the threads with a tap, and made sure a non-boogered-up stud would thread in without issue. Boom. Done.

20150404_165554

And just like that you too can remove a stuck stud from a head!  Now, surely there’s something else around here that I need to zap together…